

Getting started: your first gallery in 5 minutes
In short: in picsme a gallery is ready in three steps: upload photos, check the cover, share. The
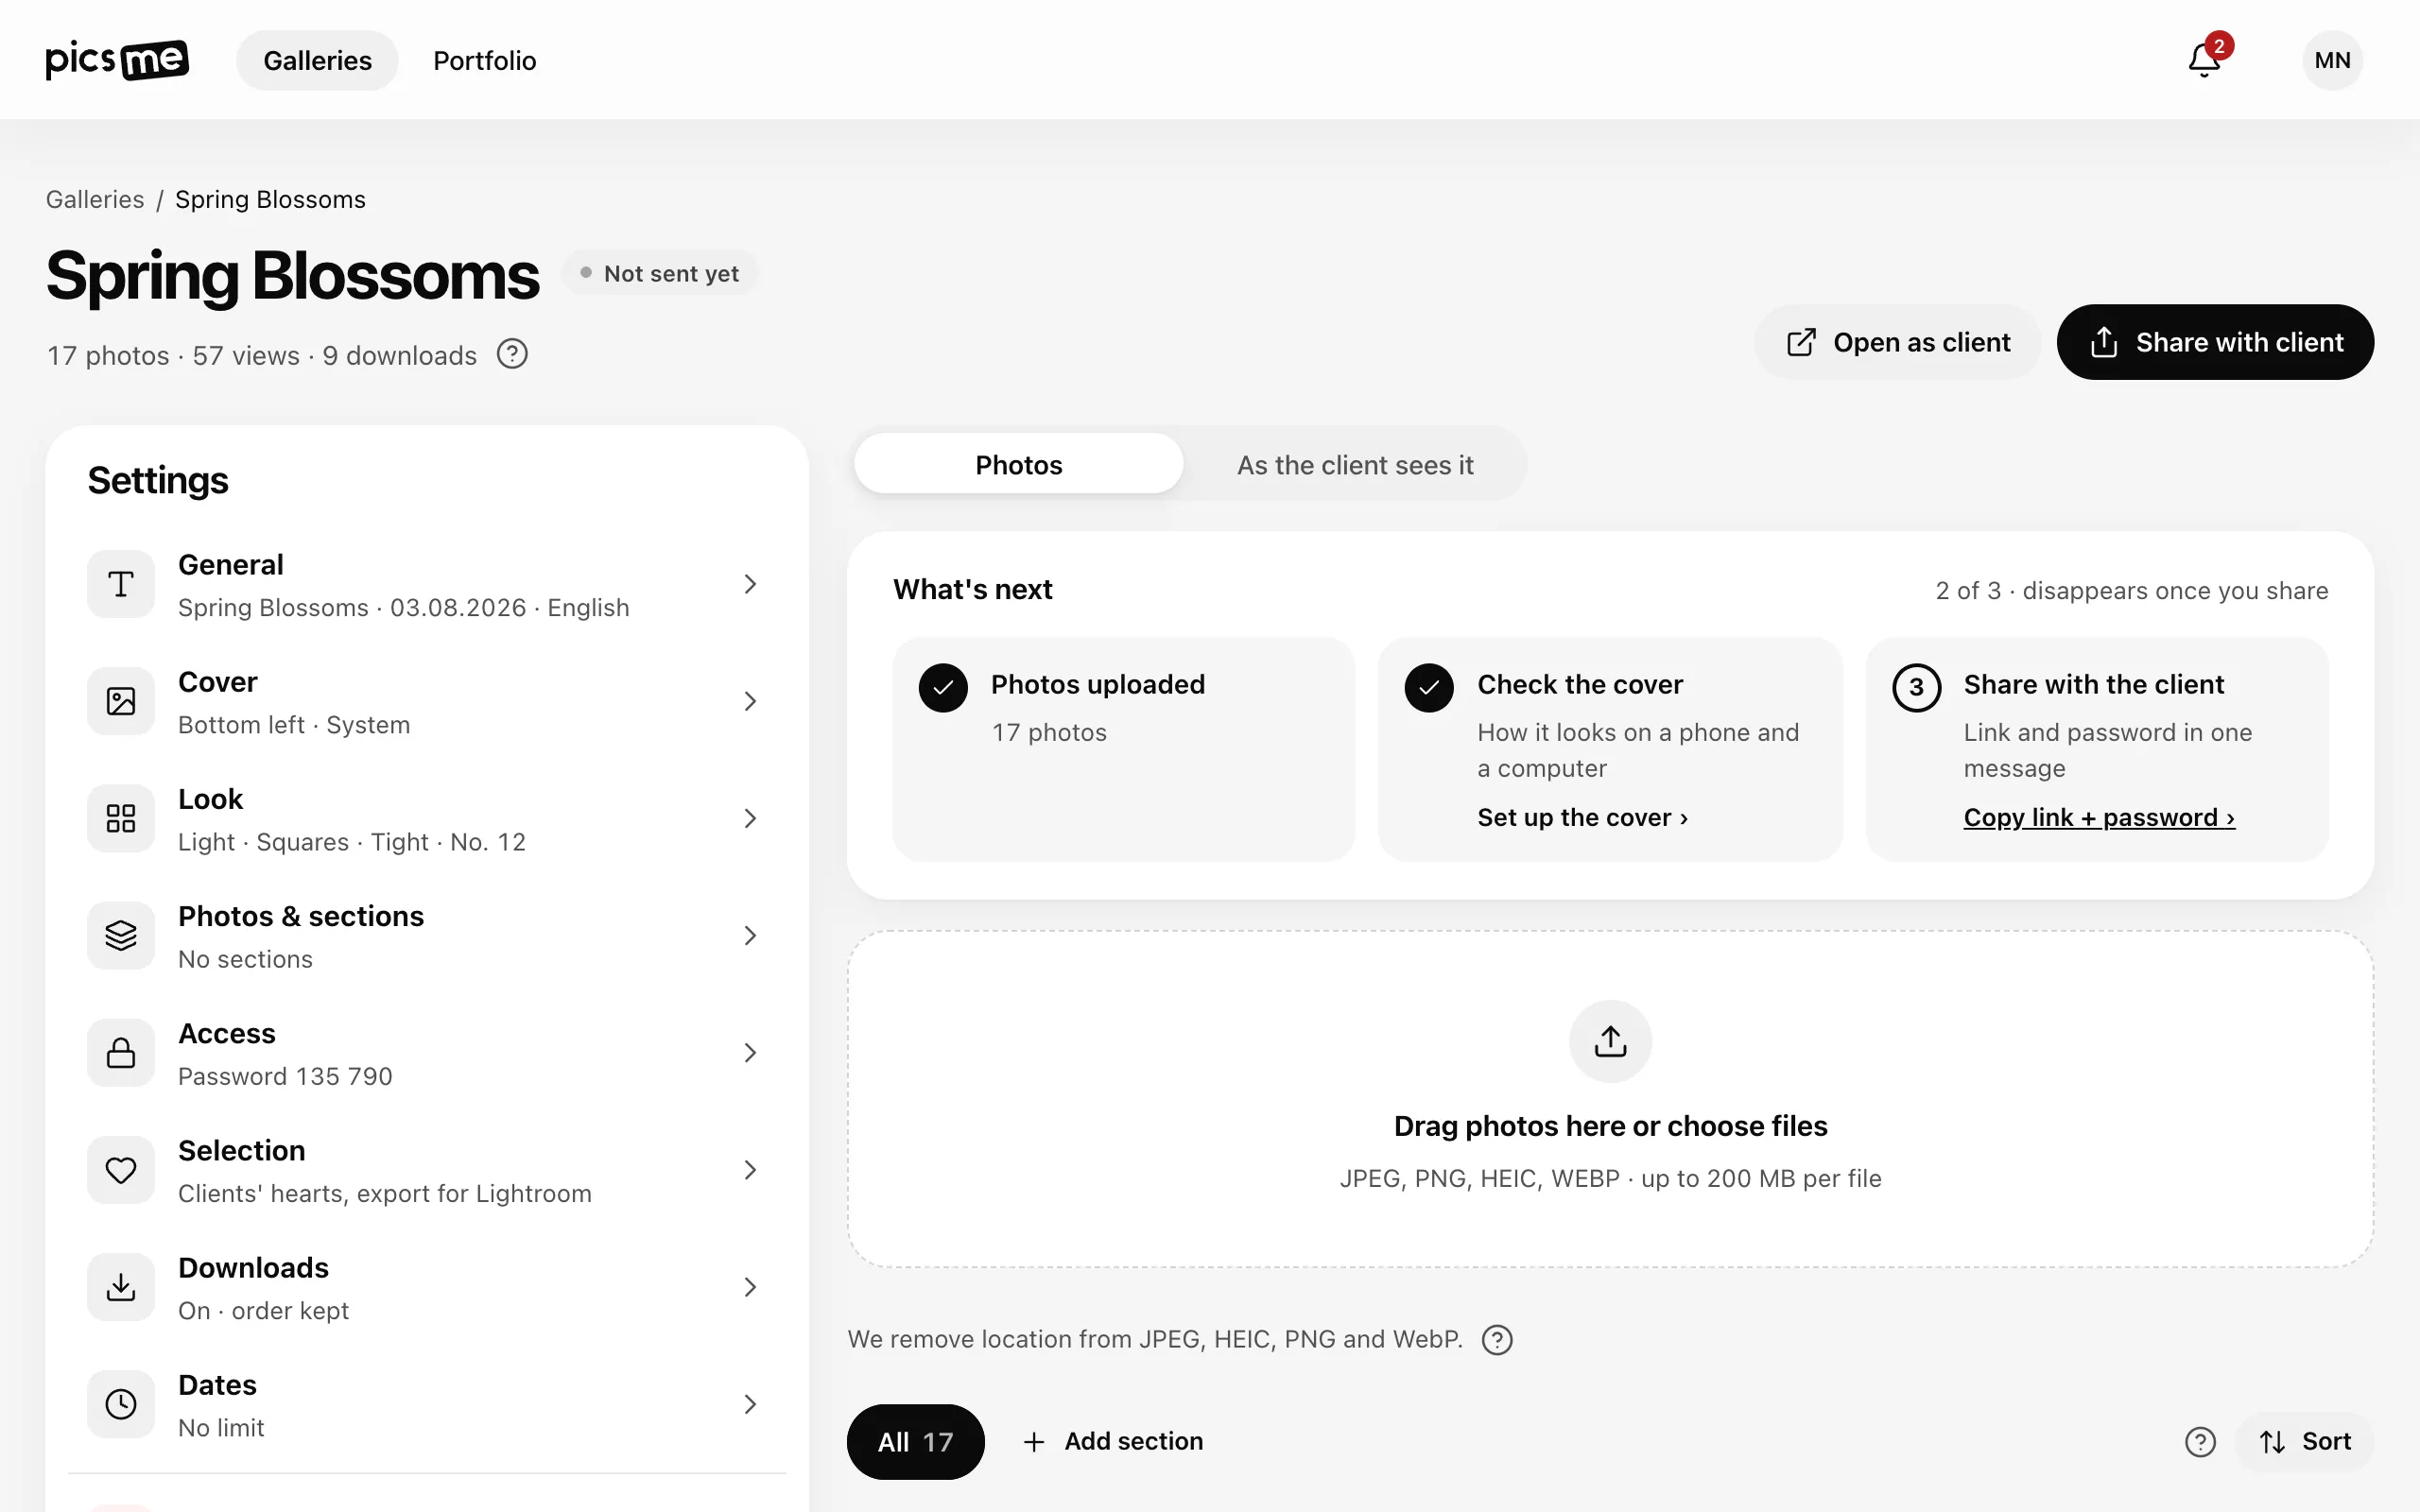
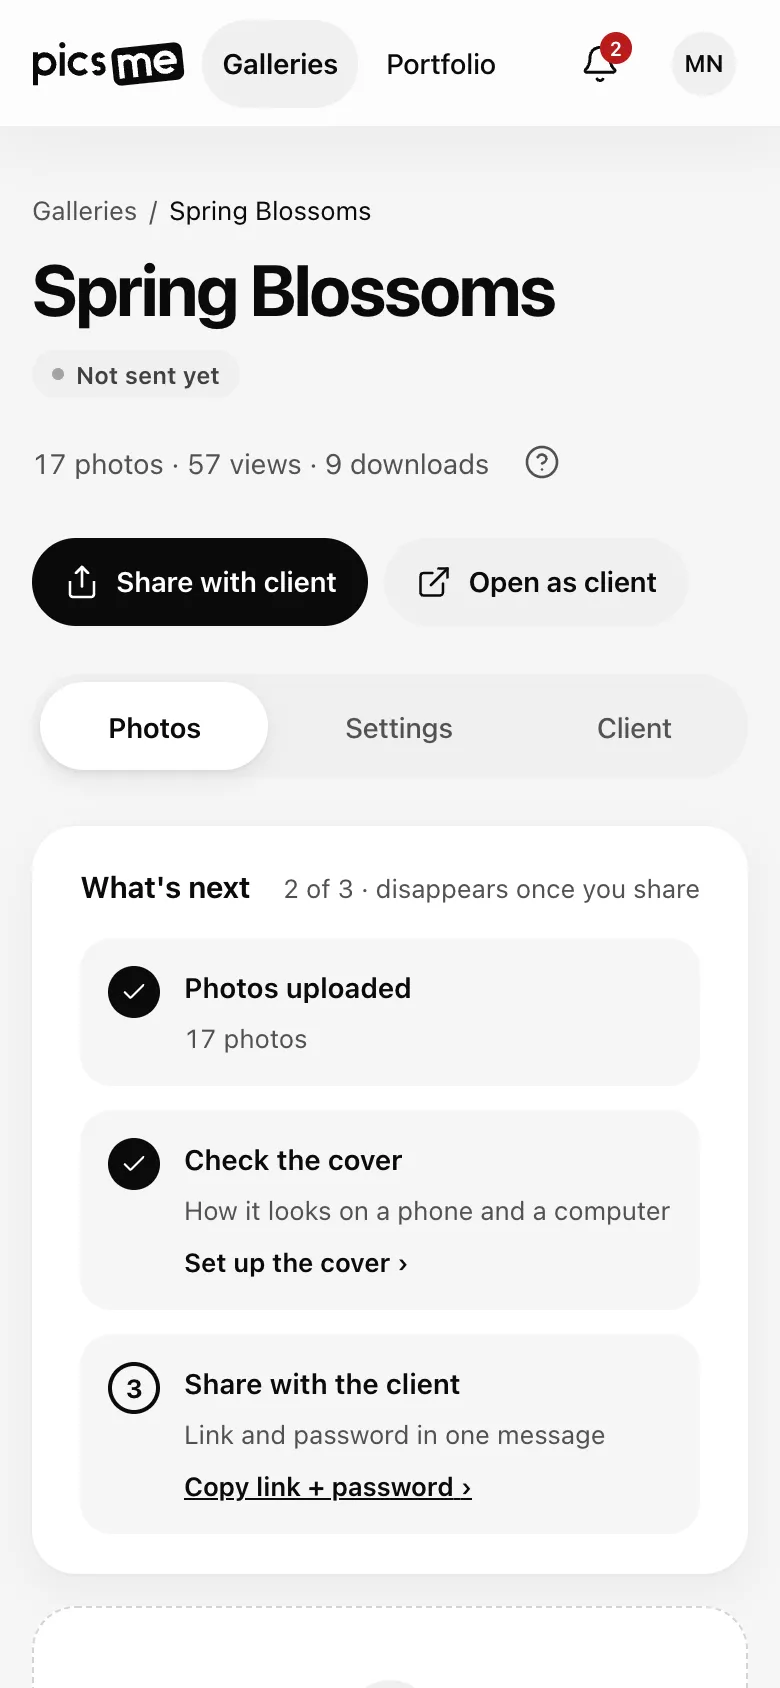
What’s next card on the gallery page tracks them and disappears once you share. Your cabinet is at
studio.picsme.app.
- On Galleries, click New gallery. Enter a Title, choose Open or Password and how long access stays open, then click Create and upload photos. See Create a gallery and upload photos.
- Drag photos into the zone Drag photos here or choose files. You can open settings while they upload.
- Open Cover on the left: pick the photo, the focal point, the layout and the font. See Cover.
- Click Open as client to see the gallery exactly as the client will.
- Click Share with client: the link (and the password, if there is one) is copied as one message. Paste it into
a messenger or an email. The client opens it at
<your address>.picsme.app/<gallery>. See Sharing a gallery and Gallery address.
Settings save themselves
Section titled “Settings save themselves”The settings have no Save button. Each change is saved at once and a Saved notice appears at the bottom with Cancel — it puts the previous value back. The same works with Alt+Z, or ⌘/Ctrl+Z outside text fields. Text fields save shortly after you stop typing.
A few things ask first: a new gallery password, deleting photos and deleting the gallery.
The gallery page
Section titled “The gallery page”- Left — Settings: General, Cover, Look, Photos & sections, Access, Selection, Downloads, Dates, Danger zone. Click a group to open it, Back (or Esc) to return.
- Right — Preview: Photos is your working grid; As the client sees it shows the client cover and grid on a Desktop or a Phone. Click the cover or the grid in the preview to open its settings.
- On a phone the page has three tabs: Photos, Settings, Client.